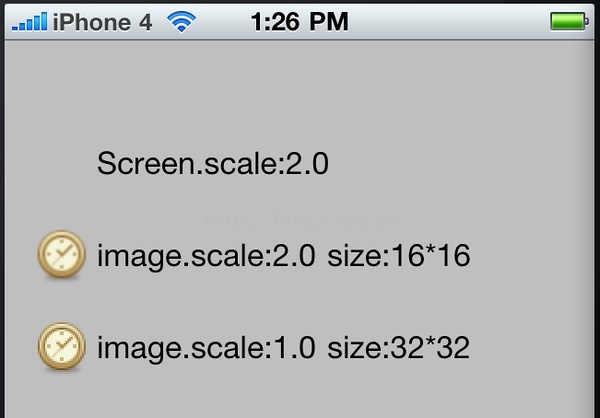
 代码: - (void)viewDidLoad { [super viewDidLoad]; UILabel *label = [[UILabel alloc] initWithFrame:CGRectMake(50.0, 50.0, 200.0, 32.0)] autorelease]; [self.view addSubview:label]; label.backgroundColor = [UIColor clearColor]; label.text = [NSString stringWithFormat:@"Screen.scale:%.1f", [UIScreen mainScreen].scale]; do { UIImage *image = [UIImage imageNamed:@"test.png"]; UIImageView *imageView = [UIImageView alloc] initWithImage:image]; imageView.frame = CGRectMake(15.0, 100.0, 32.0, 32.0); [self.view addSubview:imageView]; [imageView release]; UILabel *label = [[UILabel alloc] initWithFrame:CGRectMake(50.0, 100.0, 300.0, 32.0)] autorelease]; [self.view addSubview:label]; label.backgroundColor = [UIColor clearColor]; label.text = [NSString stringWithFormat:@"image.scale:%.1f size:%.0f*%.0f", image.scale, image.size.width, image.size.height]; }while (0); do { UIImage *image = [UIImage imageNamed:@"test2.png"]; UIImageView *imageView = [UIImageView alloc] initWithImage:image]; imageView.frame = CGRectMake(15.0, 150.0, 32.0, 32.0); [self.view addSubview:imageView]; [imageView release]; UILabel *label = [[UILabel alloc] initWithFrame:CGRectMake(50.0, 150.0, 300.0, 32.0)] autorelease]; [self.view addSubview:label]; label.backgroundColor = [UIColor clearColor]; label.text = [NSString stringWithFormat:@"image.scale:%.1f size:%.0f*%.0f", image.scale, image.size.width, image.size.height]; }while (0); }